Life in general is complex but can be broken down into its more understandable component parts. Hunting is a complex and bewildering subject but can also be better understood when fundamental principles are identified.
- STEP 1: Know your equipment.
- STEP 2: Know your quarry.
- STEP 3: Know yourself.
- STEP 4: Know how to get close.
- STEP 5: Know when to shoot (and when not to).
- STEP 6: Know where to shoot.
- STEP 7: Know what to do after the shot
This, in a nutshell will result in food on the table or a trophy on the wall.
Simple!
Well in reality, not so simple: because books can and will be written on each one of these steps but if we can identify the core issues contained within each of these steps we will have traveled a long way on the road of understanding necessary to arrive at an intended destination.
STEP1: Know your equipment
Before even considering hunting with bow and arrow you must become familiar with your equipment. You should have the right equipment for the animals you intend to hunt and hunt within the limitations of that equipment. If the bowhunter remains within the constraints of modern bow and arrow equipment they make a very effective and lethal combination.
Conversely, by stretching the equipment’s capabilities the statistical probability of high wounding rates becomes an unfortunate and unacceptable consequence.
Bow setup and tuning as well as correct arrow selection are critical to optimum bow performance and accuracy. If you don’t know how to set up and tune your equipment and to select the right arrows get someone with the know how to teach you.
STEP 2: Know your quarry
Many hunters go to great trouble to buy the best of equipment, set it up correctly, tune equipment to perfection and spend hours and hours practicing until they can put six arrows through a keyhole at 30 meters and forget one of the most important factors around which a successful hunt hinges – knowing their quarry!
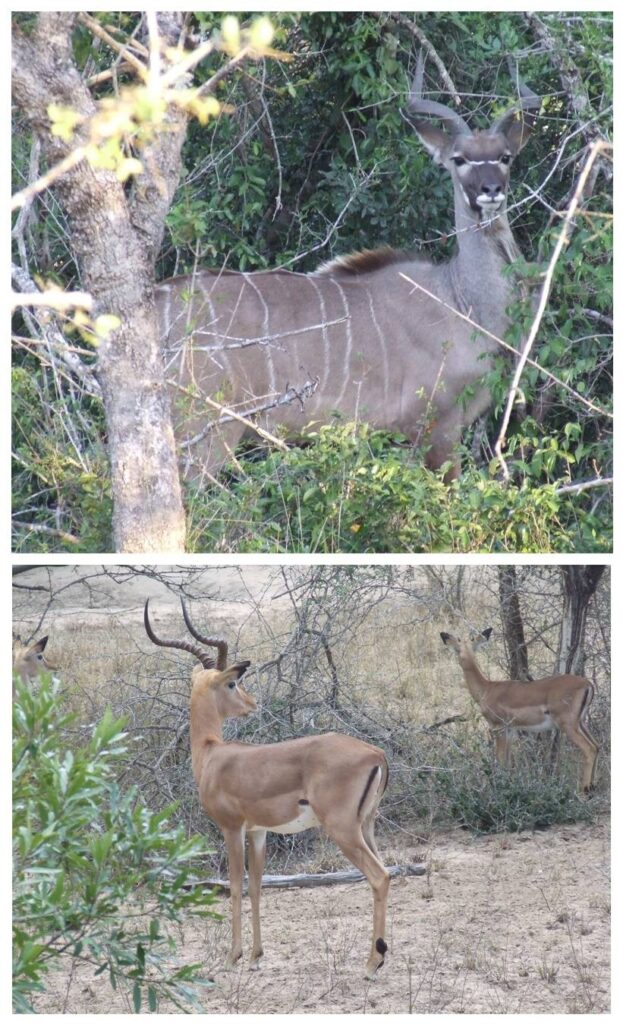
This means that you should understand the behaviour of the animal you intend hunting, how to read its body language, how it responds to perceived threat or danger, what it is likely to do if wounded, what is its flight distance, where it is most likely to be found, what are its eating habits and daily movements, is it water dependent or independent of water?
You should carefully study its anatomy so that you know the position of the heart and lungs from different perspectives and know what its tracks and scat look like and other signs of its presence.
Developing tracking and stalking skills are a decided advantage.
STEP3: Know yourself
As with your equipment so with yourself! Know your ability but more important know your limitations. When do you know when you are ready to hunt with a bow and arrow? Good question. Because you have hunted with a firearm for many years this does not by default qualify you to hunt with archery equipment.
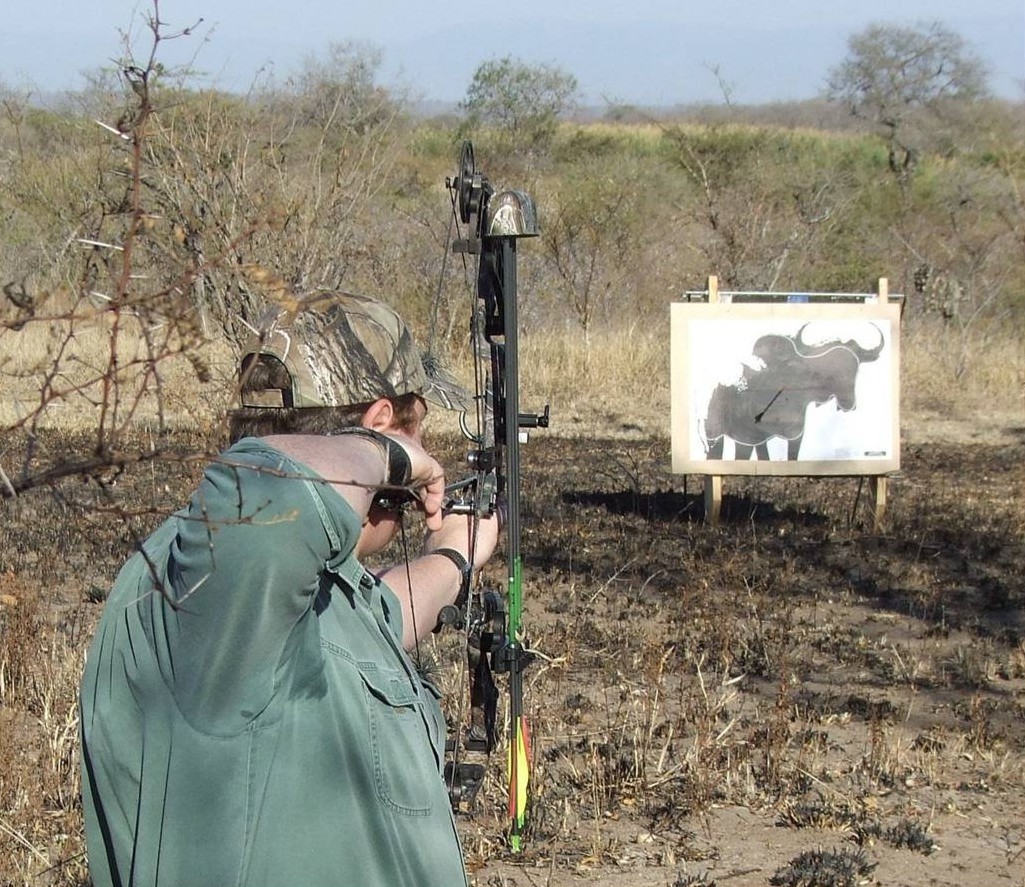
Shooting a bow and a rifle have a few similarities but many more differences and it is the responsibility of an ethical sportsman to get to know his equipment intimately and to use it well, before taking on the challenge of hunting – especially with a weapon that is new and unfamiliar.
Becoming proficient with archery equipment and the techniques used in bowhunting takes time. More time than it takes with a firearm – simply because the bow and arrow is generally a short-range, low-velocity weapon when compared to a modern firearm.
Many novice bowhunters practice under ideal conditions – level area, known distance, stationary target, no wind, and no adrenalin – and determine for themselves a range at which they can consistently place eight out of ten arrows in a 20cm “kill zone” and then think that this is the distance at which they can successfully engage a wild animal under field conditions. This is an incorrect approach.
As most hunters are aware, hunting conditions are seldom far from ideal. There is the heat (or cold), crosswinds, up or downhill shots, targets that don’t want to stand still, sweat in your eyes, a galloping heart rate, and adrenaline surging through your veins.
So the distance at which you could consistently group your arrows shrinks dramatically in reality and it is this distance – your optimum range – which you must determine and which must establish the range at which you are prepared, with a high probability of success and a low probability of wounding, to risk taking a shot at a live animal.
Most individuals overestimate their ability with the bow and arrow. We are capable of success when we shoot within our limitations but can easily miss when we attempt shots beyond our level of proficiency.
Research in the USA where there are around two million bowhunters shows that the range at which beginners can shoot with reasonable accuracy under hunting conditions is 8 yards, “average” skilled bowhunters 18 yards and “above average” bowhunters 21 yards. This puts things into a more realistic perspective.
STEP 4: Know how to get close
You should know how to get within optimum bow range without initiating a flight response.
There are significant differences in hunting with bow and arrow as compared to hunting with a firearm the most significant being that a bow is a short range weapon. When one compares the ballistics of an arrow to that of a bullet there are some glaring differences.
Bullets travel at much higher velocity, have a much flatter trajectory and have much more kinetic energy.
The implication of this is that the bowhunter must get much closer to his quarry than would be necessary with a firearm.
What factors are involved here?
Wind
Firstly the bowhunter must be aware of how he will be detected by an animal he is attempting to stalk. The first issue is scent. Animals rely heavily on monitoring their environment by smell.
The bottom line is stay downwind of your quarry (or crosswind). When you are upwind your scent will waft towards your intended target which will put distance between you and itself in a big hurry.
Sound
Sound is a big giveaway. Walk as silently as possible and avoid talking.
Movement
Some animals have relatively poor eyesight and some have good vision so things which will make you readily visible should be given attention – movement, shape, silhouette, surface and shine.
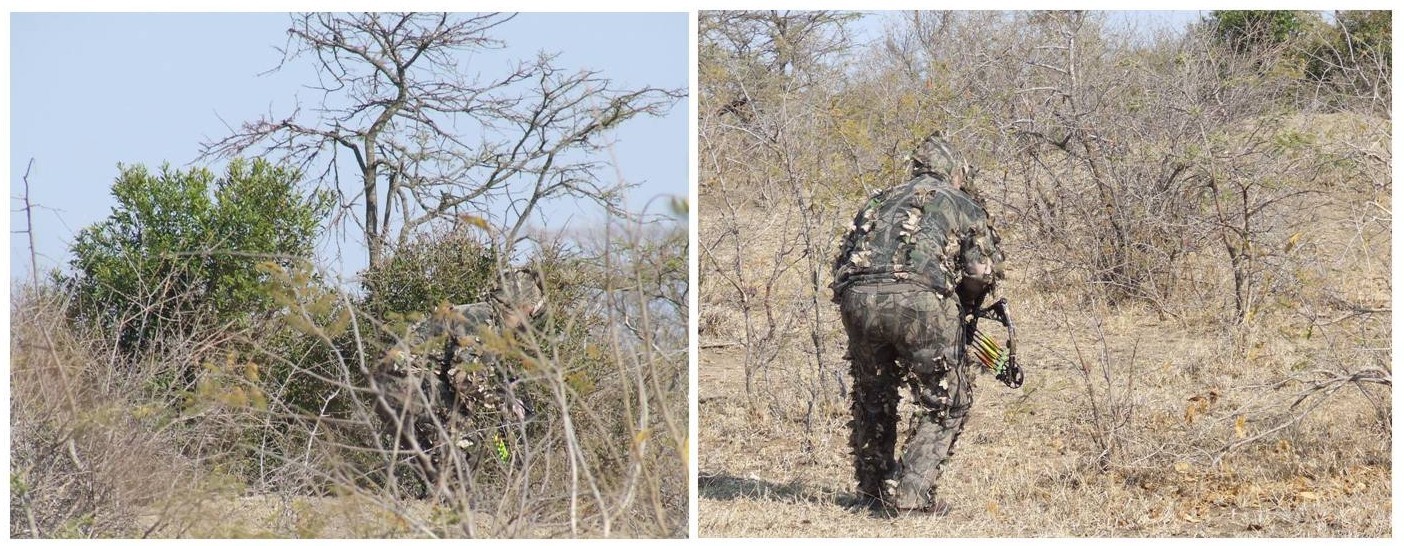
Wearing appropriate camouflage will make you more difficult to see by dulling shine, breaking outline and making your shape less detectable.
When stalking up to game try and picture yourself from the animal’s position and choose an appropriate background which will help you to merge into the background and avoid being silhouetted.
Excessive movement is of course a big no- no! Move as little as possible, spend a lot of time in deep shadow where movement is less obvious and when you have to move do so slowly.
STEP 5: Know when to shoot (and when not to)
During realistic practice sessions we can determine our optimum range. As far as range goes we can now make an informed decision whether to shoot or not. There are however other criteria which must be taken into consideration which will help us make the final decision whether or not to shoot:
When NOT to shoot
- Don’t shoot if the animal is looking at you.
- Don’t shoot if there are obstructions between you and the animal and you cannot see the vitals.
- Don’t attempt a shot if the animal is more than 25m away.
- Don’t shoot at an animal with young at foot.
- Don’t shoot in poor light.
- Don’t shoot at moving animals.
- Don’t shoot when other animals are standing in front of or behind the animal you are shooting at
- Don’t shoot at tense or alert animals.
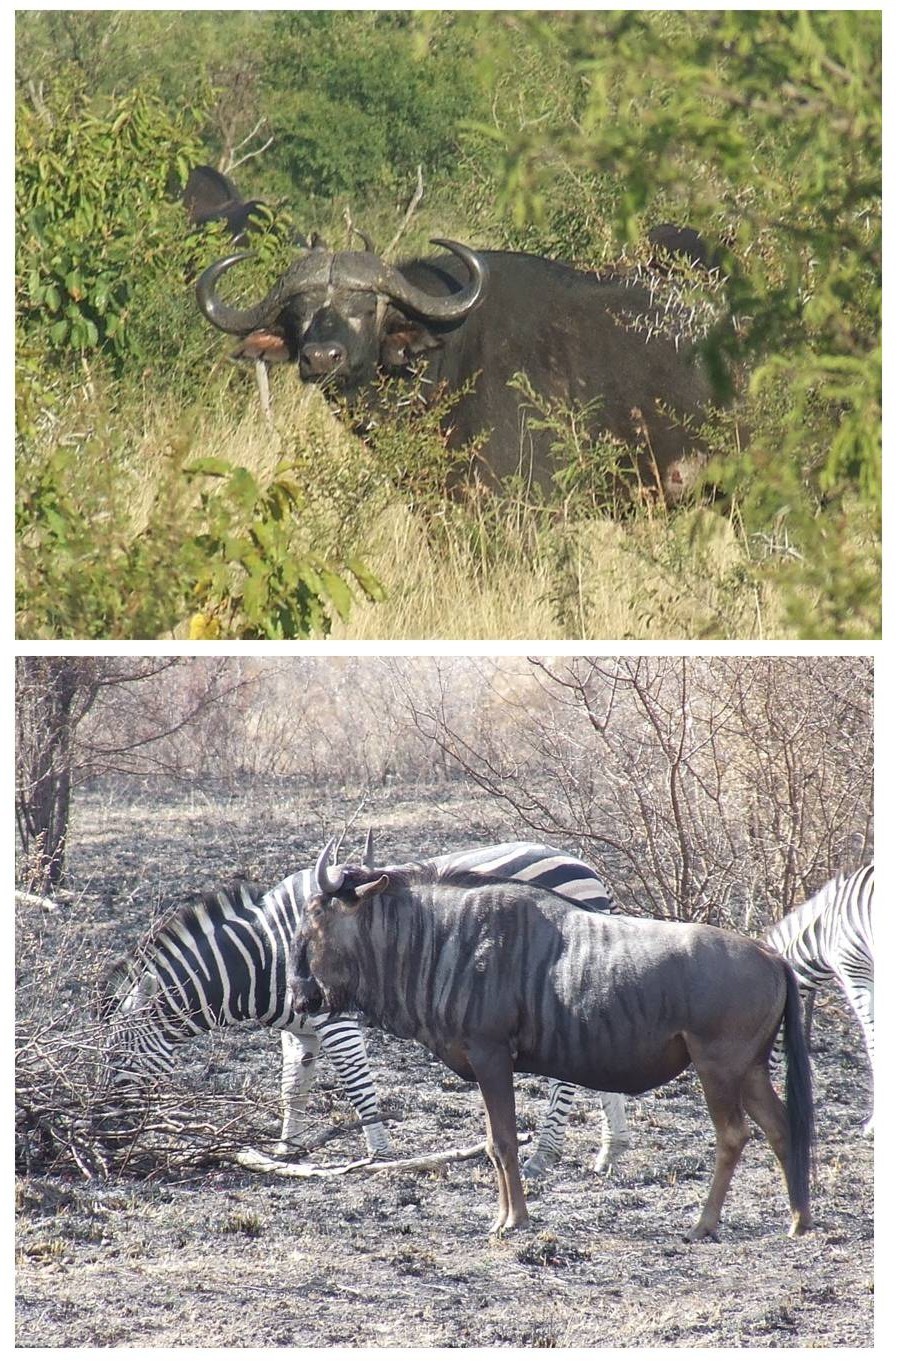
When to shoot
- The animal is looking away from you
- The shooting lane is clear of obstructions
- The animal is within your optimum range (preferably 20m or less)
- The animal is relaxed
- The animal is standing still
- Light must be adequate – there should be enough light for a follow-up to search for an animal that has run off or is wounded
- You must be sure of being able to place an arrow in the vital zone
STEP 6: Know where to shoot
Where should you aim to hit? The fact that arrows have low kinetic energy when compared to bullets begs another question which is how do arrows kill?
This is a bit of a trick question because arrows can kill in a number of ways but there is only one way which bowhunters should attempt to bring about the relatively quick demise of their quarry and that is through rapid and massive blood loss.
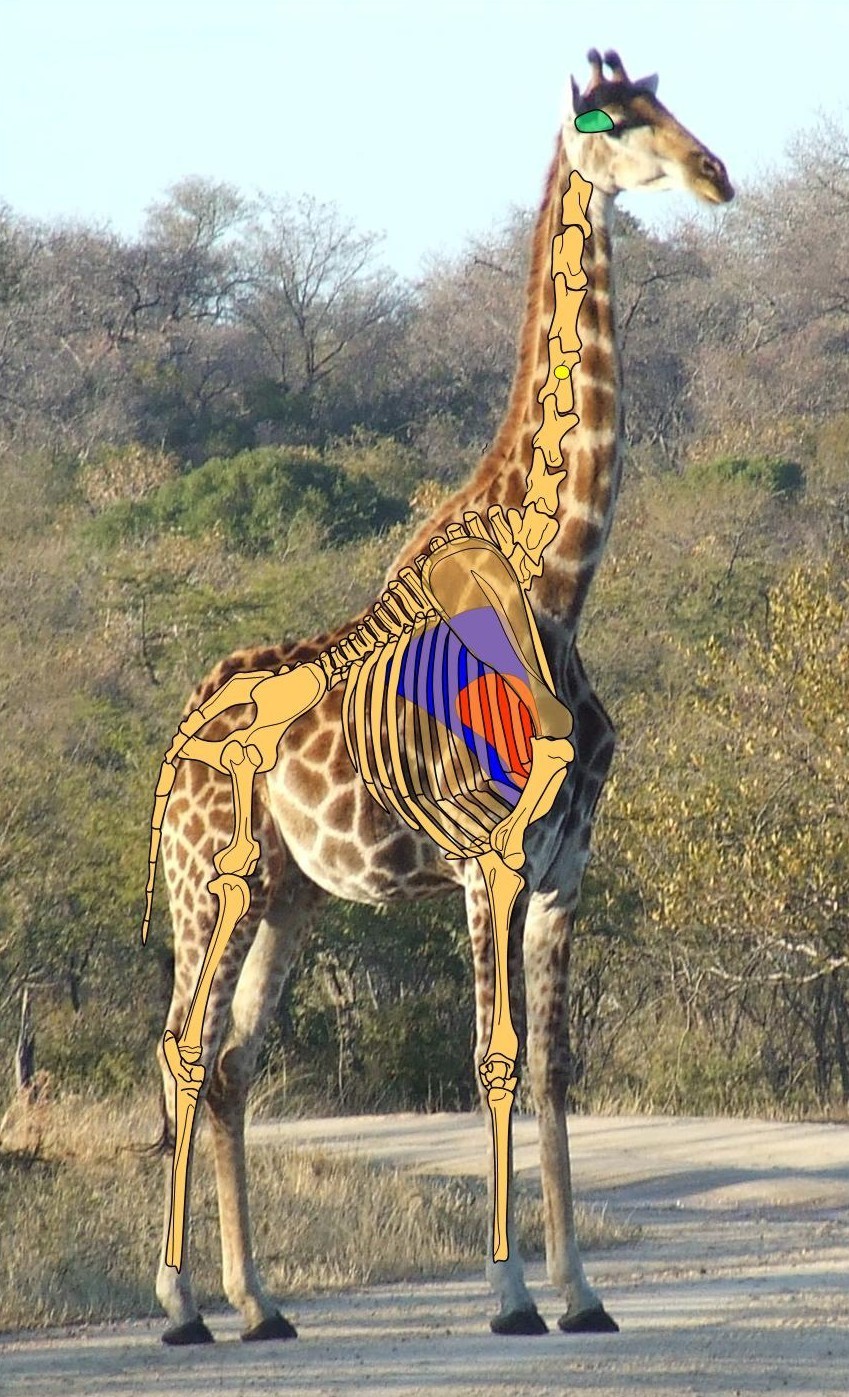
A razor sharp broadhead is of course necessary for this to happen. Arrows can cause the death of an animal by infection. It is slow and involves a lot of suffering. This usually happens if arrows end up in the abdominal cavity of the quarry and is something all ethical bowhunters try and avoid as far as possible.
Arrows can also kill very quickly and effectively by disrupting the central nervous system. This means a brain or spinal (neck) shot. However if a bowhunter hits the spine (neck) or brain it is (should be) by mistake and not by design! Bowhunters are limited as to the target of choice. Whereas firearm hunters generally have the option of a brain, spine or heart lung shot bowhunters are restricted to aiming for the heart lung area from a side on or quartering away presentation.
Shots with bow and arrow should not be purposefully aimed for brain or neck shots. The reason for this is that one chooses the target with the biggest margin of error to allow for the slower arrow speed (some species respond to the sound of the bowstring being released by “string jumping”) and the more pronounced trajectory. The brain and spine (neck) are relatively small targets compared to the heart lung area and continually moving both of which make shooting at these areas with a bow and arrow high risk shots which should not be attempted. No frontal, quartering towards or rear end shots should be attempted.
STEP 7: Know what to do after the shot
The first few seconds after the shot are usually a jumble of events. You have a fleeting impression of your arrow flying towards your target, the animal exploding away, and running out of sight (unless the brain or spine has been hit). Did you miss?
Was it a good shot or was the animal just running away at the sound of your bow or your arrow landing somewhere near it? Getting an arrow into a vital area is only part of a successful hunt, for after hitting the target the bowhunter faces a considerably more difficult task – that of tracking and recovering the animal.
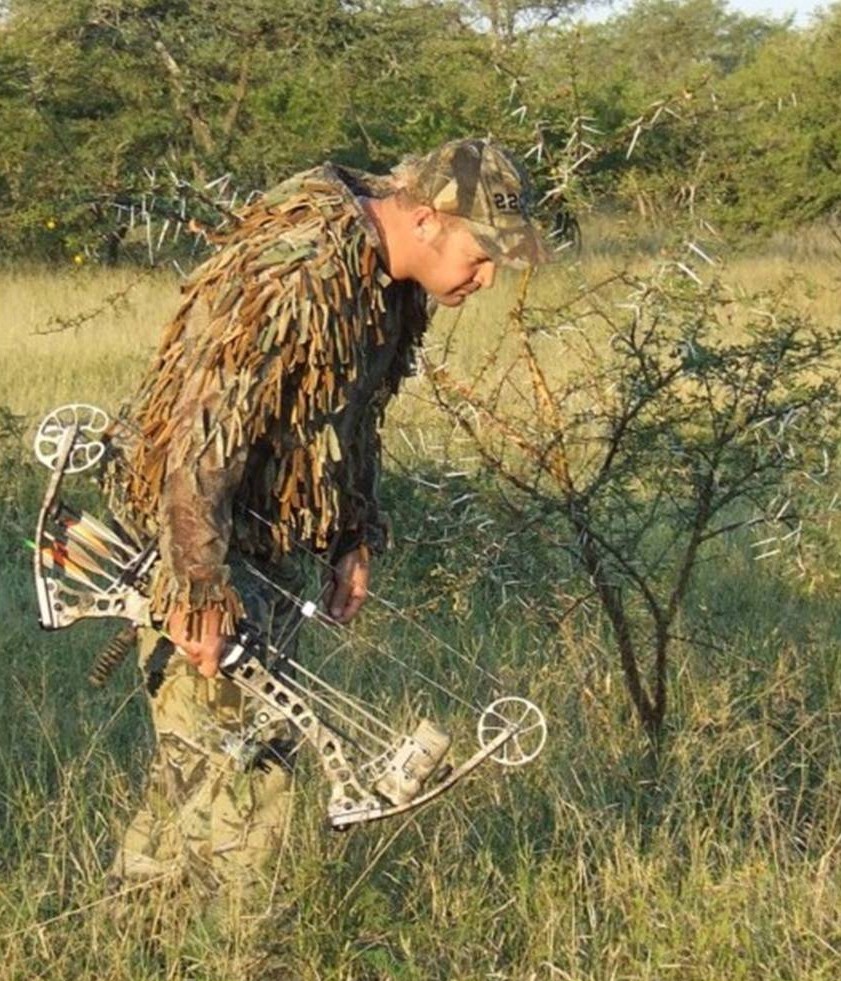
The main thing to do is to have a strategy worked out before you need to use it and the following guidelines will facilitate the task.
- As you release your arrow try and register where it hits. The watermelon “plunk” of an arrow hitting the rib cage or the liquid “crack” of a broadhead smacking bone are unmistakable. Arrows hitting rocks, branches or ground make entirely different sounds. Follow the flight of your fletchings as they will often indicate where the shot has gone.
- As your shot lands make a mental note of exactly where the animal was standing when you released. Don’t be vague – it must be an exact spot. Pick an object like a rock or a tuft of grass – something that you can locate after the animal has run off so that you know where the animal was standing. It is here that you must look for the first signs
- As the animal runs off watch it for as long as you can so that you have a mental note of the last place you caught a glimpse of it. Also listen – carefully – the sound of running may be heard long after you have lost visual sighting and this may also aid you in recovering your quarry.
Take careful note of the animal’s reaction as the arrow impacts and it runs off:
- A spinal or brain shot will drop the animal in its tracks.
Missed shots will cause the animal to run off at the sound of the string and the arrow landing close by. After initial fright some animals like zebra for example, will sometimes return or stop and try to locate what gave them a fright and might, if you are lucky, present you with a chance for a second shot. - An animal hit with a good chest shot will race away at great speed after jumping or bounding high in the air as it takes off and then set off running low to the ground with its tail clamped down hard against the rump and corkscrewing. Sometimes, they will run into obstacles. If it runs off with its back arched high the chances are it is gut shot and you are going to have a long, hard trailing job to locate it.
- A lightly wounded animal will probably have the tail held high or in the normal down position as it leaves the scene in a more upright run than for a heart/lung shot animal, leaping high over obstacles as it runs off.
Does the animal stagger or run off trailing a leg? If so you may have hit it in the rump, low down on the shoulder or legs.
Once again it must be stressed that shot placement is critical. Be prepared to pass up shots you are not sure of.
The next thing to do is ………. wait for at least 30 minutes before you move to the spot where the animal was standing before you shot it.
This wait is very important. Some animals will run off for a short way before they stop and rest or look for cover. If you approach too soon they will run off a long way and make recovery extremely difficult.
There are a few exceptions to this general rule:
- If you have actually seen the animal go down and expire.
- It begins to or was raining at the time of the shot. All spoor and sign will be obliterated if there is moderate to heavy precipitation.
If an animal is shot just before dark. Consider postponing follow up until first light. If you decide to follow up in the dark make sure you are not contravening any hunting laws. - Now assuming the animal has run out of sight, smell and sound, you can recover your arrow (if it is not in the animal) and examine it to give an indication of the type of wound that has been inflicted.
Mark the place where the animal was standing when hit and begin the follow up.
As you follow sign, mark the trail with some easily seen biodegradable material like toilet paper. This will enable you to backtrack should you lose the spoor or become lost. - Looking back it will also give you an indication of the flight path direction. This step might not be necessary if you are accompanied by a local guide
As an ethical bowhunter you have an obligation to find the animal you have shot. Be patient, walk silently and keep your bow and arrow handy should the animal need to be dispatched with a second arrow.
- It is likely that the animal will move to thick cover or water.
- Remember that a fatally wounded animal can bleed internally and leave a poor blood trail.
- If the blood spoor dries up you must search the area in ever expanding circles as you cast about for additional clues.
- Be careful! – a wounded animal can be dangerous. Whether it is a warthog or a lion, when following spoor don’t become so involved that you forget to keep an eye open for the animal itself (or other potentially dangerous ones).
- Remember: don’t just look on the ground for sign. Often an animal will leave telltale splotches of blood on bushes and limbs quite high up as they brush past. Sometimes a wounded animal will stumble or bump into a tree.
- If signs disappear – DON’T GIVE UP! Start searching likely spots in the area where a wounded animal might go.
How will you do this?
By remembering two things: generally a wounded animal will:
- Follow the line of least topographical resistance as it flees, especially if it is hard hit – staying either on level ground or running downhill (Very rarely up a steep incline).
- Might move to water.
Follow all seven steps and the chances are pretty good that you will keep the freezer full and the taxidermist busy.

